Attaching bits to the frame
Continuing my e-ink photo frame project, I now had a wooden frame. And two other frames I didn’t want to think about. Next up, I needed a way to attach everything together.
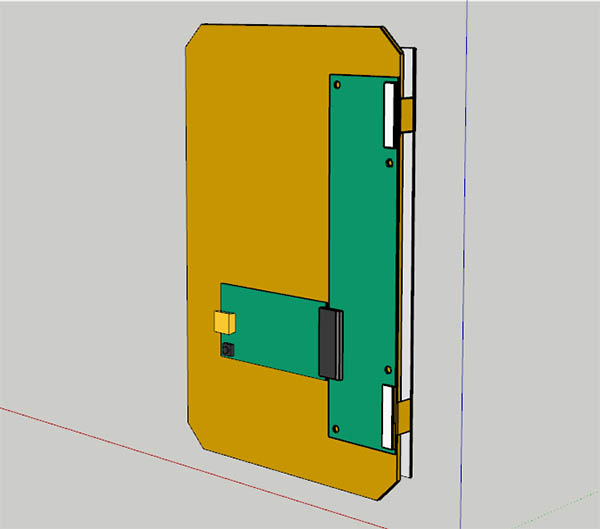
My initial plan was to use hardboard. It was from the back of a photo frame so seemed appropriate. I measured out what I’d need to cut in SketchUp:
(I had so much fun needlessly modelling small details on this project).
The hardboard, whilst strong, was ugly as all fuck and frayed when cut. I considered wood but the chances of me cutting it accurately were close to nil. I decided to treat myself and have my first foray into 3D printing - I already had everything measured precisely in SketchUp.
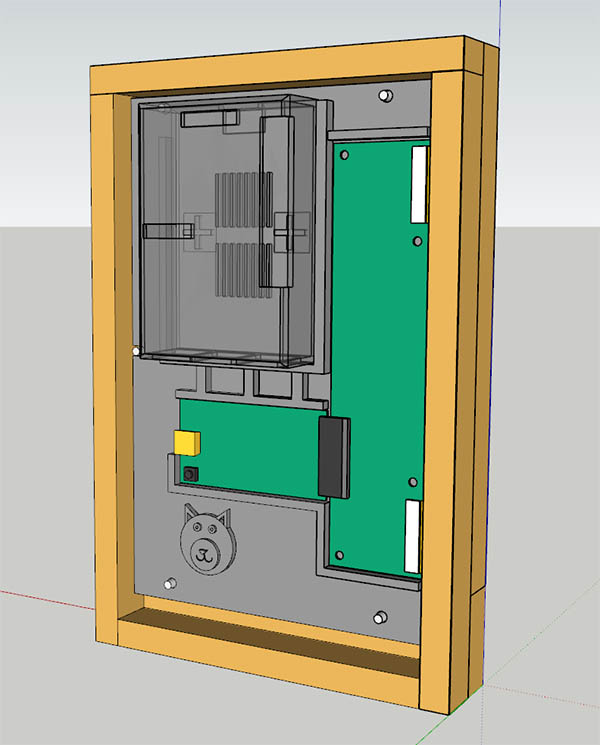
The grey bit is the model to be printed. The translucent shape on the top left is the case I had bought for my Raspberry Pi. I added 5mm raised walls around the e-ink board, the adaptor, and the Pi. Those strengthening-tubes you see between the Pi and the adaptor? I thought they looked nice. Maybe they make it stronger too? I also added a cat face because I am 9.
To attach the 3D printed back-piece, I sunk and epoxied bolts to the frame and used 3D magic to make opposing holes in the board. The board can then be secured with nuts. This is a bit backwards but it works; I’ve since discovered, and used, lovely “insert nuts” but I didn’t know what they were called at the time.
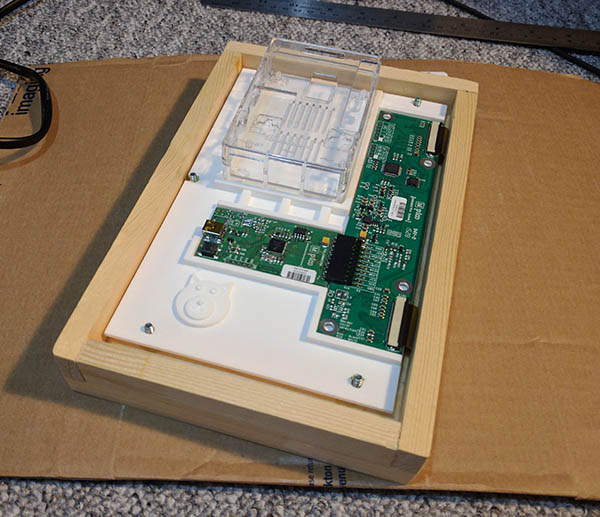
I had the board printed at 3DPRINTUK. It arrived quickly and is wonderful, they use a fancy laser based printing technique and the finished object looks perfect. It took a lot of self-control to not immediately spend all my money on printing more things; holding something you designed on your computer is a cool feeling.
I needed to file the little wall next to the Pi but everything else fitted fantastically:
Next up, I need to make it all work.