Final assembly
This post continues the story about my e-ink calendar frame and concludes the rebuilding. This time I actually remembered to take some nice photographs!
I dashed to the post office to pick up the finished models only to find that they hadn’t been dyed black; they were still white. I did consider working with them but they had dyed some of the smaller parts, so that would have been weird. 3DPRINTUK quickly sorted that out and a few days later I had them back in my hands and in the correct colour.

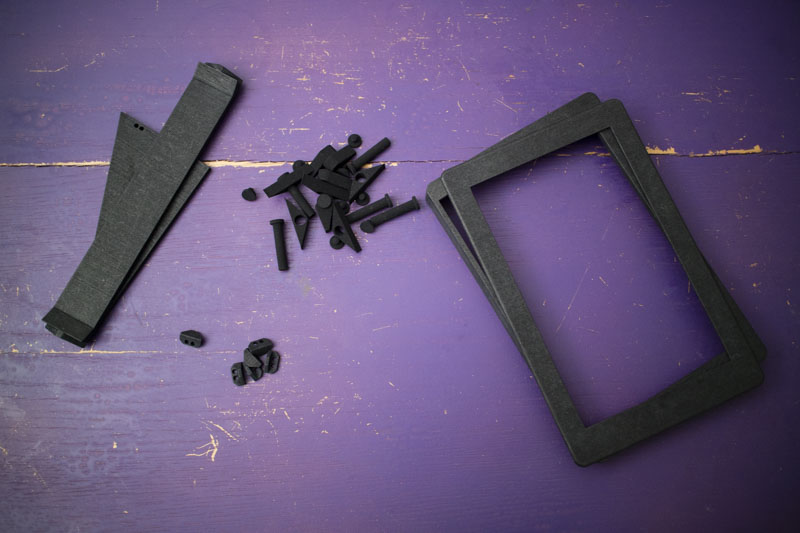
I designed the holes for the screw inserts to be as tight as possible and they ended up being a little too tight. This is still better than them being too big as I could just use a Dremel to widen them slightly and then set to work.
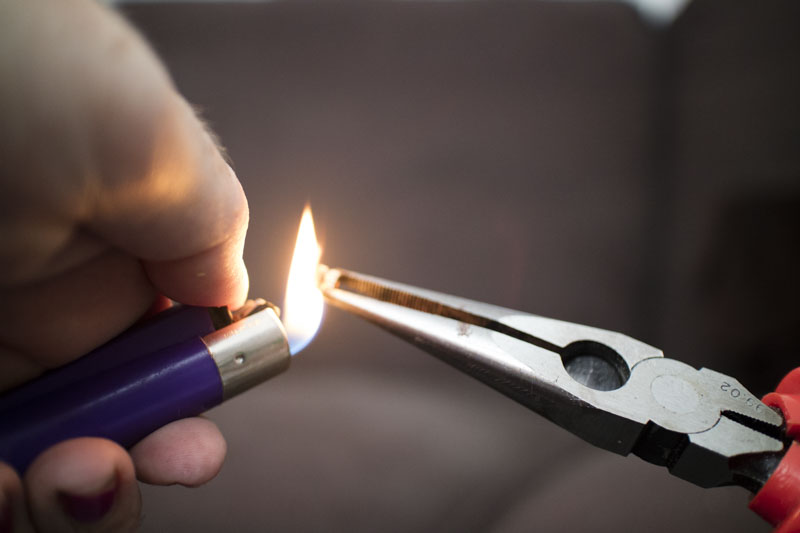
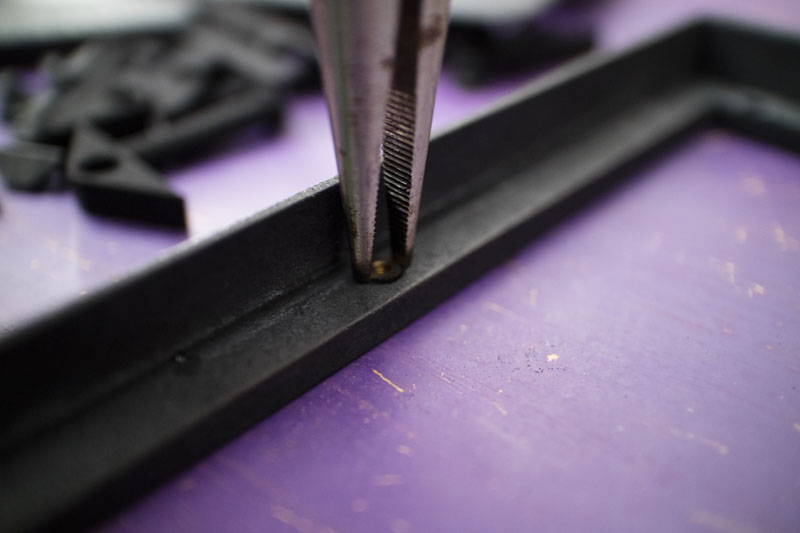
Heating the inserts with a lighter let them melt into the plastic as I pushed them in. This set them enough that I could tighten a screw without them working their way out.
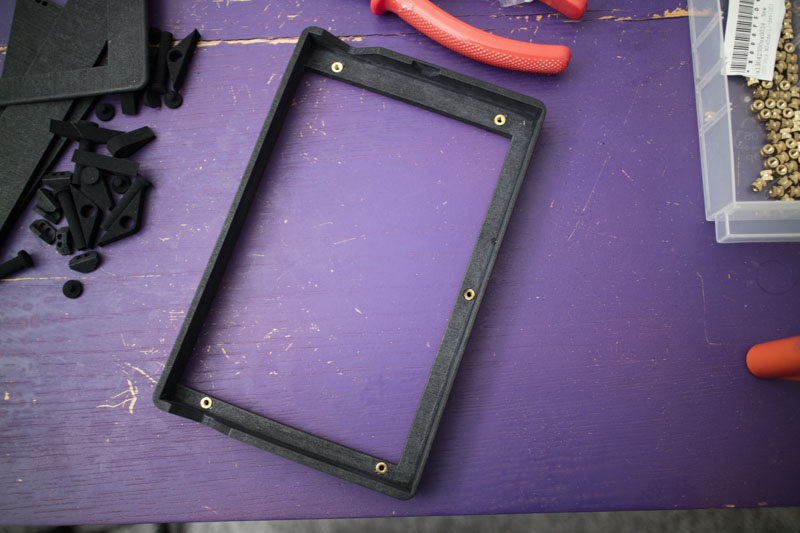
Next I attached the front. I had created this as a separate part to ensure it printed correctly. I’ve since learnt that 3DPRINTUK’s magical SLS machine made this unnecessary but it gave me something to build. That was fun.
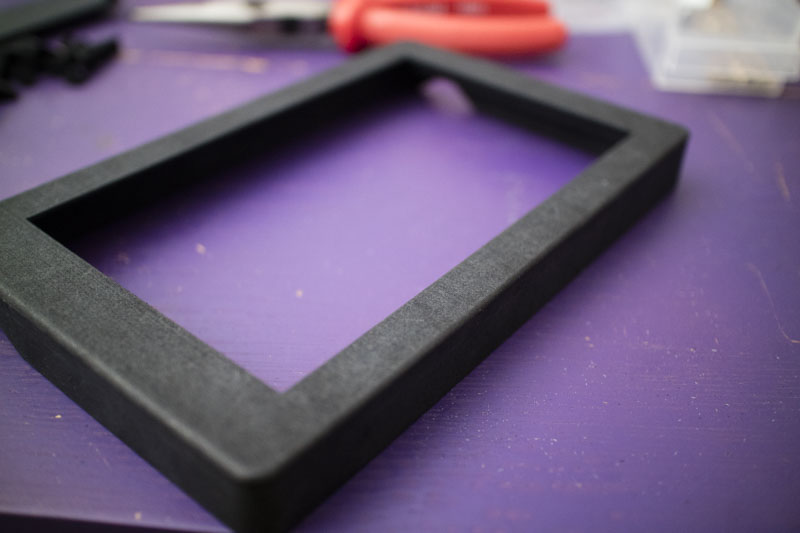
This lined up perfectly and looks like one solid object. The screen and circuit board dropped in neatly and the screws lined up. I was a little terrified of that part.

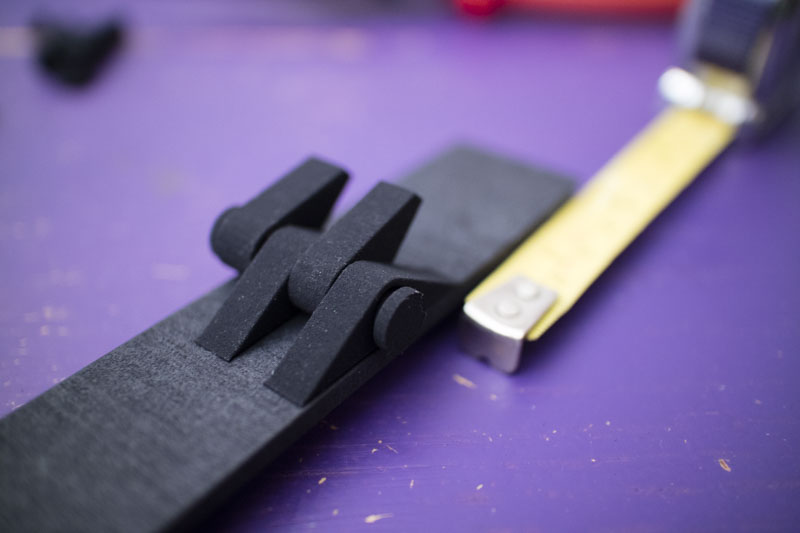
I had a little issue with the back panel: while everything fitted together perfectly without a circuit board and screws, I didn’t account for the height of the screwhead and needed to hack away at that part. It’s not externally visible but I’m sad knowing it’s there. My hinge assembly worked really well, I was really happy with that.
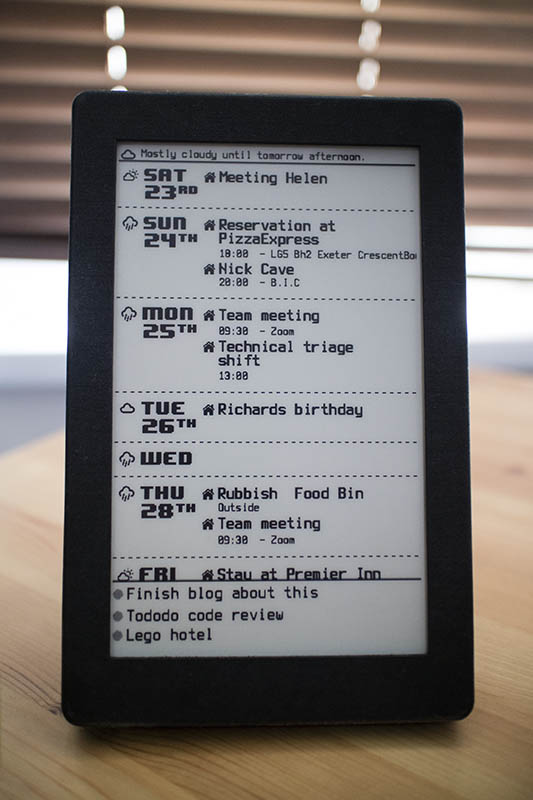
With the high-tech fastener secured (I tied the string on), it was all set. It booted up without any complaints and, I think, looks great. The matte black frame, grey background to the screen, and black text look wonderful together. I was able to increase the size of the aperture so much that I gained some precious pixels back!
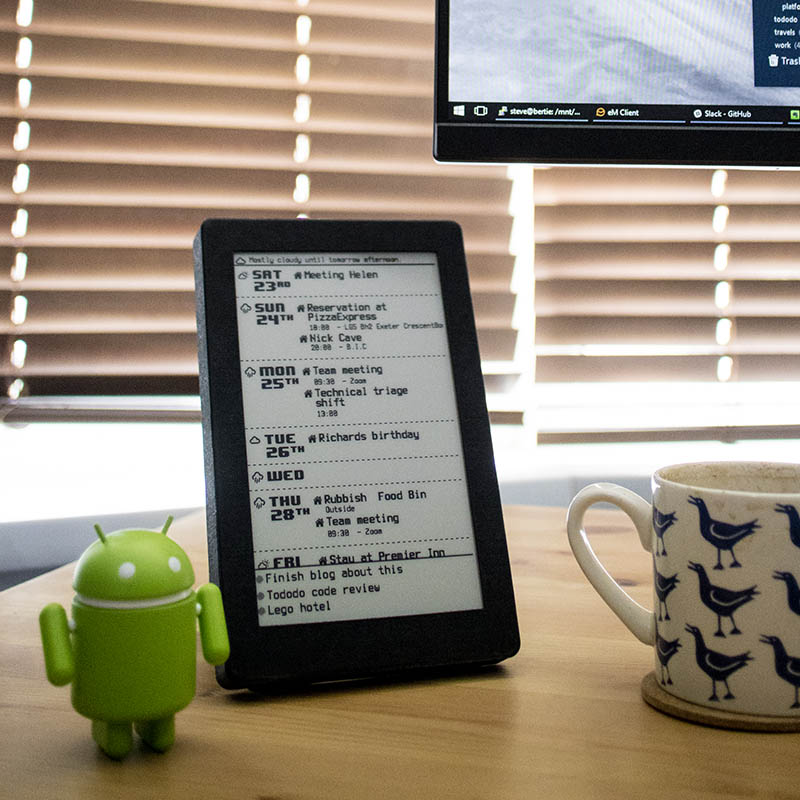
There we go! :3